- Published on
Customizing Neofetch in Arch
- Authors

- Name
- Zoe
- @zoeebun
[alt title]: Personalizing Neofetch: Adding Your Signature Logo for a Unique Touch
Recently, I was setting up a new Arch installation recently and REALLY wanted to put n1bz as a custom Neofetch logo – just imagine how cool that would be!
Upon researching, I was getting bits and pieces of answers, but not the complete answer I was seeking. It seemed like this was something that hadn't been fully addressed. This was puzzling, especially because the community seemed to deem it as a straightforward task – and spoiler alert, it actually was!
Nevertheless, I decided to share my findings for those who might encounter the same issue. Consider this your guide if you stumble upon this problem too!
So, grab your custom logo and a cup of coffee, and let's dive right in!
Quick note: Any logo format like PNG, JPEG, etc. would work, but I'd suggest PNG for extra flair.
For this mini project, we need to edit the 'config.conf' file, which should be located here: ~/.config/neofetch/config.conf
But before we jump in, let's start by installing jp2a – we'll need it for this project.
Note: 'jp2a' is a tool that transforms images into ASCII art.
To install jp2a, execute this command:
sudo pacman -S jp2a
Now, you'll need to locate two lines – # Image backend and # Image Source usually found at the top of # Backend Settings section.
First, we'll switch out image_backend="ascii" with image_backend="jp2a"; naturally, feel free to experiment with other options and play around!
Next, let's replace image_source="auto" with image_source="/path/to/your/logo.png".
With these changes made, don't forget to save the file. You're almost good to go! To see the magic in action, put it to the test by entering the command:
neofetch
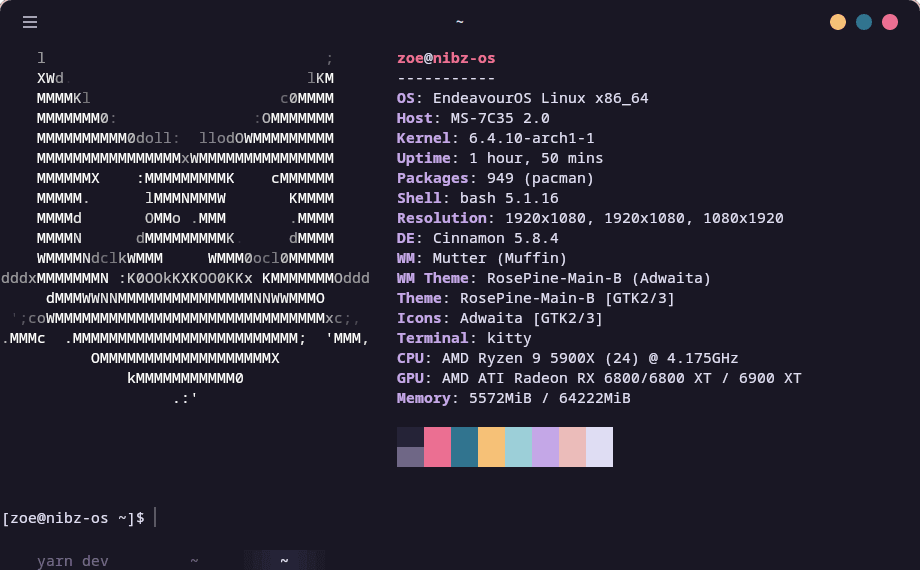
And there you have it!, with a bit of experimentation you've woven your Neofetch to be uniquely yours! 🚀🎨